Beginner’s Guide To Astrophotography
I remember the first time I aimed my telescope at the night sky, there was an undeniable rush of excitement. The moment you capture the twinkling stars or a distant galaxy, you realize that astrophotography is more than a hobby, it’s a way to connect with the universe. It was easy to identify major constellations from my light-polluted backyard, so syncing the primitive (by today’s standards) go-to mount to a few known stars was easy. But when I decided to take the scope to a very dark sky site, the number of visible stars was overwhelming, and I had trouble identifying constellations. Equipment has come a long way since then!
What if I am totally new?
If you’re new to this, astrophotography combines the beauty of the night sky with the art of photography. It’s about taking photos of astronomical objects like stars, planets, and galaxies. It’s not just about snapping photos; it’s about understanding the cosmic dance above us and preserving a moment of it.
In this introduction to astrophotography, I break down astrophotography into simple, actionable steps. You’ll go from admiring celestial photos online to creating your own. We’ll cover the essential equipment you’ll need, the best techniques for crisp, clear images, how to navigate the night sky effectively, and finally, how to edit and share your cosmic captures. I will also be revealing some general astrophotography tips.
So, equip yourself with curiosity, and let’s start this astronomical adventure. By the next full moon, you could be capturing images that make you feel, even if just for a second, that you’re holding the universe in your hands.
Read on as I walk you through the fundamental tools you’ll need in the next section, ‘Equipment Essentials: Tools of the Trade.’ You’ll see that the cosmos is within your reach with the right gear.
Equipment Essentials: Tools of the Trade
Astrophotography is a stunning blend of science and art, requiring both precision and creativity. Having the right equipment is the cornerstone of this craft. I’ll guide you through the essential gear you’ll need to begin your astrophotography adventure.
The camera is your primary tool. Choices range from DSLRs, with their versatility, to mirrorless cameras, known for their compact size and reduced weight. Then, there are specialized astrophotography cameras designed to capture the night sky’s nuances. Each type has its advantages, and I’ll help you understand which might suit your goals and budget best.
The unsung heroes of this celestial pursuit are telescopes and mounts. A telescope acts as a massive lens, bringing distant stars within reach, while a sturdy mount supports your equipment and aligns your shot to perfection. Picking the right combination is crucial for clear, detailed images.
Do I need accessories?
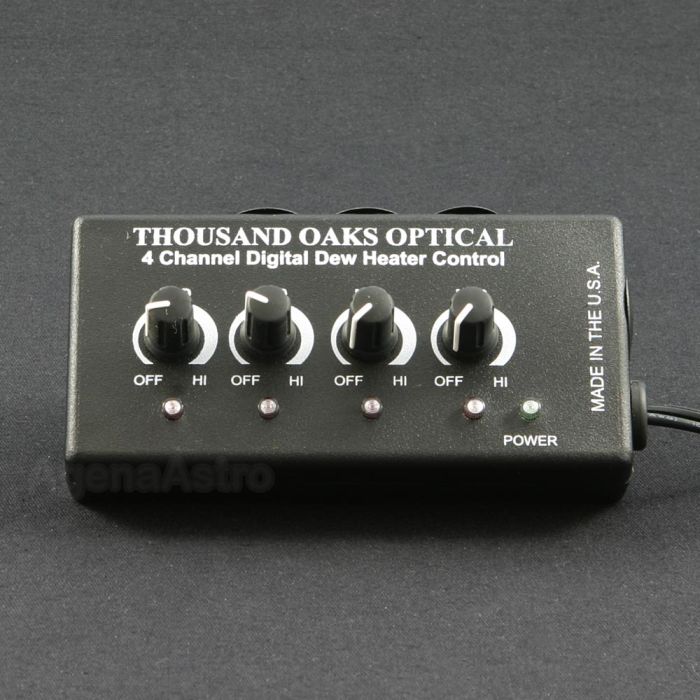
Don’t overlook the smaller accessories: lenses that capture wide fields or zoom in on distant galaxies, filters that diminish light pollution, and remote releases for shake-free exposures. These additions can substantially improve your astrophotography results.
If you’re working with limited funds, don’t be discouraged. I’ll share tips on how to begin with a smaller budget. You might be surprised at how much you can achieve without breaking the bank. It’s about making smart choices and possibly even starting with what you already have on hand.
After getting your gear together, you’ll need to understand its capabilities and limitations. In the next section, ‘Mastering the Craft: Techniques for Stellar Images,’ I’ll cover the practical skills and settings you’ll use to bring the wonders of the night sky into sharp relief on your camera’s sensor.
Mastering the Craft: Techniques for Stellar Images
Embarking on the journey of astrophotography includes mastering key techniques to transform your night-sky captures from mere snapshots into mesmerizing stellar images.
One of the foundational skills in astrophotography is mastering the intricacies of long exposure. This is what allows you to capture the faint light of stars and galaxies. You’ll need to experiment with exposure times, balancing it against ISO settings and lens aperture to reduce noise and retain detail.
Ensuring sharpness in your photos is another important skill. You’ll often be focusing manually because autofocus is unreliable in low-light conditions. Use your camera’s live view mode and digital zoom to hone in on a bright star for precise focus. If you are using a telescope, the Bahtinov mask is your best friend for achieving excellent focus. And if you have the resources, electric focusers, and autofocus software routines nowadays are quite good.
I have a digital camera. Is that good enough to start?
Speaking of camera settings, you’ll want to get familiar with the role of ISO, aperture, and shutter speed – the ‘exposure triangle’. A general rule is to start with a wide aperture to let in as much light as possible, a low ISO to minimize grain, and a shutter speed dictated by the ‘500 Rule’ to avoid star trails.
Composition is just as important in astrophotography as it is in daylight photography. Use the ‘rule of thirds’ to position interesting celestial features and include some of the landscape to give context to the scale of the night sky.
To prevent star trails, you have two options: either adhering to the ‘500 Rule’ – dividing 500 by your lens’s focal length to find the longest exposure before stars blur – or using a tracking mount that moves with the earth’s rotation.
Now that you’ve got a handle on the techniques for achieving brilliant astrophotography, it’s time to turn to the practical considerations of when and where to plan your night photography sessions. Navigation is a whole different ball game when you’re aiming for celestial bodies, and the next hurdle is finding the perfect time and place to shoot.
Navigating the Night Sky: Planning Your Astrophotography Session
If you have your heart set on astrophotography, success hinges on preparation. Knowing when and where to shoot can mean the difference between a breathtaking image and a lackluster snap. Just as sailors once used the stars to navigate the seas, you’ll use them to chart your course to stunning photographs.
In the age of smart devices, a variety of apps exist to guide you in locating stars, planets, and galaxies. Take advantage of these digital tools to help plan your shots. You can see in real-time positions of celestial bodies, moon phases, and even get weather predictions—all crucial for your outing.
Timing is everything. The night sky is a dynamic canvas that changes not just nightly, but seasonally as well. Be sure to research the best times to photograph specific celestial events like meteor showers or planetary alignments for that extra special capture.
I live in the middle of a city with a lot of light. Can I still do this?
Light pollution is the bane of astrophotography. Ideally, seek out locations far from city lights to give your images clarity and contrast. This might mean planning a trip into the countryside or timing your session around a new moon when the sky is at its darkest. If you can’t travel to a dark sky, there are a number of astrophotography light pollution filters that make imaging from light-polluted cities possible.
Bear in mind that weather conditions can thwart the best-laid plans. Clear skies are paramount, so monitor forecasts and be ready to adapt. Even the air’s humidity can affect your session, potentially fogging up your lens or dulling the sharpness of the stars. Take these factors into account, and always have a backup date for your photography adventures.
Finally, choosing the right location is about more than just darkness and weather. Consider safety, accessibility at night, and any local regulations on nighttime use of parks or reserves. Do your homework ahead of time so that when the night arrives, you can focus solely on the beauty above and the art of capturing it.
With your session meticulously planned, the next step is turning your raw images into polished gems. This brings us to the importance of editing—an essential part of astrophotography. But don’t be daunted; I’ll guide you through the basics in the next section, from choosing the right software to sharing your cosmic masterpieces with the world.
Editing and Sharing Your Celestial Captures
Once you’ve captured the breathtaking night sky, the next exciting step is bringing those images to life through post-processing. Editing is not just about corrections; it’s about enhancing the visual experience and sharing your unique perspective of the cosmos.
For beginners, navigating editing software can feel as complex as charting the stars. Start with user-friendly tools that offer basic adjustments like brightness, contrast, and color balance. Adobe Lightroom and Photoshop are widely used, but there are also free alternatives like GIMP that are great for those just starting out.
Common editing tasks for astrophotography include reducing noise, which is typically more prevalent in low light conditions, and adjusting colors to make the stars and Milky Way pop. Tweaking these elements can transform a good photo into an extraordinary one.
After refining your images, it’s time to share them with the world. Platforms like Instagram, 500px, and AstroBin are popular among astrophotographers. Remember, sharing isn’t just about showcasing your work; it’s about contributing to a community of like-minded individuals passionate about the night sky.
And lastly, the journey in astrophotography doesn’t end with the click of the shutter or the final touches on an editing screen. It’s a continuous learning process. By joining forums, participating in workshops, and connecting with fellow enthusiasts, you’ll gain invaluable knowledge, feedback, and inspiration to fuel your ongoing exploration of the celestial realm.